
How to Make a DIY Fall Sweatshirt With Thrifted Finds
-2.png?sfvrsn=d79aee4_1)
Not every fall DIY needs ghosts, skeletons or something staring back at you from the porch.
For his latest Second Chance Studio project, Gregory headed to Goodwill looking for inspiration for something festive—but decidedly not Halloween. What he found was a sweatshirt, a pumpkin-covered table runner and yarn that was practically begging to become vines.
The result? A one-of-a-kind fall sweatshirt that's part appliqué, part wearable art and entirely Uncle Gregory.
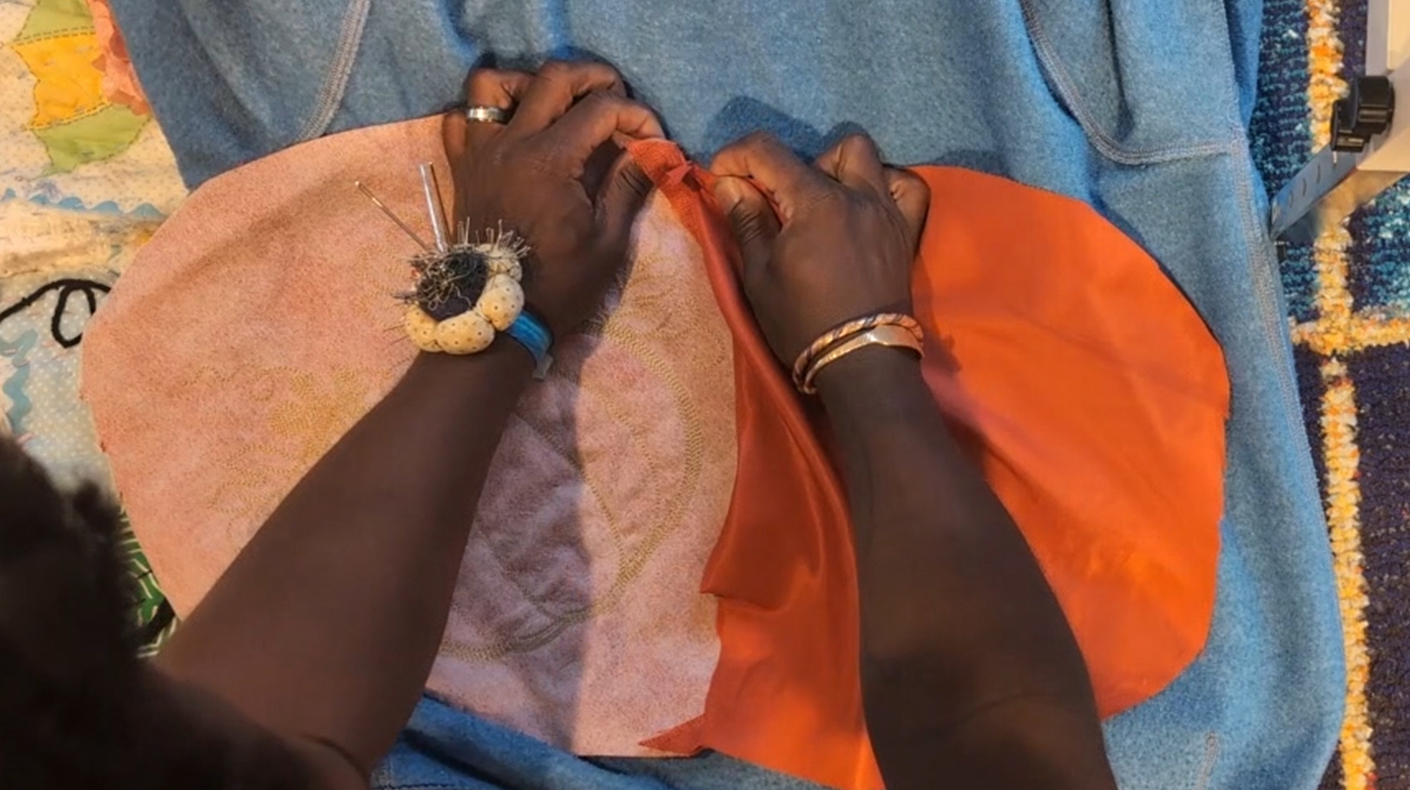
Using pumpkins cut from the thrifted table runner, hand-stitched yarn and a combination of machine and hand sewing, Gregory transforms an everyday sweatshirt into something that feels dimensional, handmade and just whimsical enough.
Or, in Gregory's words: “Giving autumn. Giving autumnal. Giving something seasonal but not spooky.”
Watch Gregory's Thrift Flip
See how Gregory turns unexpected Goodwill finds into a wearable fall statement piece—including the mistakes, late-night inspiration and very important sewing-machine lip technique along the way.
What You'll Need
- Thrifted sweatshirt or hoodie
- Thrifted fall table runner or fabric with motifs you can cut out
- Yarn
- Coordinating thread
- Sewing machine
- Hand-sewing needle
- Scissors
- Straight pins
- Seam ripper
- Mannequin or dress form, optional
Your materials don't have to look exactly like Gregory's. Look for seasonal textiles, colors and details that inspire you, then figure out how they could work together.
Step 1: Shop for Possibilities
Head to Goodwill with an idea of the materials, colors or textures you want—but leave room for the unexpected.
For this project, the inspiration came from a pumpkin-covered table runner. Instead of seeing table decor, think of the individual designs as fabric you can cut, layer and transform into appliqué.
Thrift Tip: Shop for materials, not just their original purpose. Table runners, placemats, curtains, scarves and other textiles can become fabric for an entirely different project.
Step 2: Cut Out Your Design
Cut individual motifs from your thrifted textile, leaving enough material around each one to work with as you sew.
Before committing to placement, arrange the pieces across your sweatshirt and experiment. Try the chest, shoulder, pocket or even wrapping elements around different parts of the garment.
The original idea for this sweatshirt was to have a pumpkin spill over the shoulder. The final placement ended up somewhere completely different—and that's part of the process.
Step 3: Pin Your Pieces in Place
Once you're happy with your arrangement, pin each appliqué piece to the sweatshirt, following the shape of the design to create a guide for your stitches.
Before sewing, make sure both the appliqué and sweatshirt are lying completely flat.
That's one lesson Gregory learned firsthand: one section wasn't completely flat when he began sewing, which created an unwanted fold. A seam ripper and second attempt fixed it.
DIY Tip: Check twice, stitch once. And keep the seam ripper nearby anyway. 😂
Step 4: Stitch the Appliqué
Use a sewing machine to stitch around each appliqué and secure it to the sweatshirt.
For a cleaner-but-still-handmade finish, leave a little extra fabric outside your initial stitching. Fold the excess under and secure the finished edge rather than leaving it heavily frayed.
Prefer the raw-edge look? That's an option, too. The goal is to choose a finish that fits the style you're creating.
Step 5: Work With What's Already There
Before covering pockets, seams or other construction details, consider whether they can become part of your design.
On this sweatshirt, the existing pocket overlaps one of the pumpkin elements instead of disappearing underneath it, adding another layer of dimension.
Treat the garment as part of the composition—not just the blank canvas underneath it.
Step 6: Turn Yarn Into Vines
Now for the detail that ties everything together.
Arrange yarn between and around your appliqué pieces to create winding vines. Let it curve naturally rather than pulling it into perfectly straight lines. Loop it around leaves, take sections behind the appliqué and bring others forward to create dimension.
Once you're happy with the placement, use coordinating thread and small hand stitches to tack the yarn onto the sweatshirt.
DIY Tip: Lay the yarn down loosely first and play with the shape before stitching. Those imperfect curves are what help it feel more like a growing vine than a line glued to fabric.
Step 7: Finish Your Wearable Art
Secure any remaining loose pieces with machine or hand stitching, then trim stray threads and inspect the finished sweatshirt.
And don't let hand stitching scare you away from adding smaller details. As Gregory points out in the tutorial, it doesn't have to be complicated. A few simple stitches can be enough to secure an element and give your project an intentionally handmade finish.
Then try it on and see what you've made.
Seasonal, Not Spooky
The best part of this project might be that it doesn't have to disappear on November 1.
Pumpkins, vines, warm colors and natural textures give Gregory's sweatshirt plenty of fall personality without turning it into a Halloween costume. Wear it through pumpkin season, Thanksgiving or whenever your outfit needs a little more whimsy and delight.
And your version doesn't need pumpkins at all.
Start with a sweatshirt you love, wander the Goodwill aisles and see what unexpected textile makes you stop. Maybe it's a table runner. Maybe it's a scarf. Maybe it's something you haven't figured out yet.
That's part of the fun.
Ready to let go and let Goodwill? Find your local Goodwill Store & Donation Center and see what inspires your next thrift flip.