
How to Make a DIY Car Wash Mitt Using Thrifted Towels and Sweatshirts
-2.png?sfvrsn=d79aee4_1)
A Practical DIY Gift Made from Thrifted Finds
Sometimes the best DIY projects are the ones you'll actually use.
This easy sewing project transforms two common thrift store finds—a towel and a sweatshirt—into a reusable car wash mitt that's perfect for cleaning, buffing, and detailing vehicles. It's practical, budget-friendly, and makes a thoughtful handmade gift for Father's Day, new drivers, or anyone who takes pride in keeping their car clean.
Even better? Most of the materials can be found secondhand.
Watch the Full Tutorial
Watch Jane's full Second Chance Studio tutorial to see how thrifted household textiles become a durable DIY car wash mitt from start to finish.
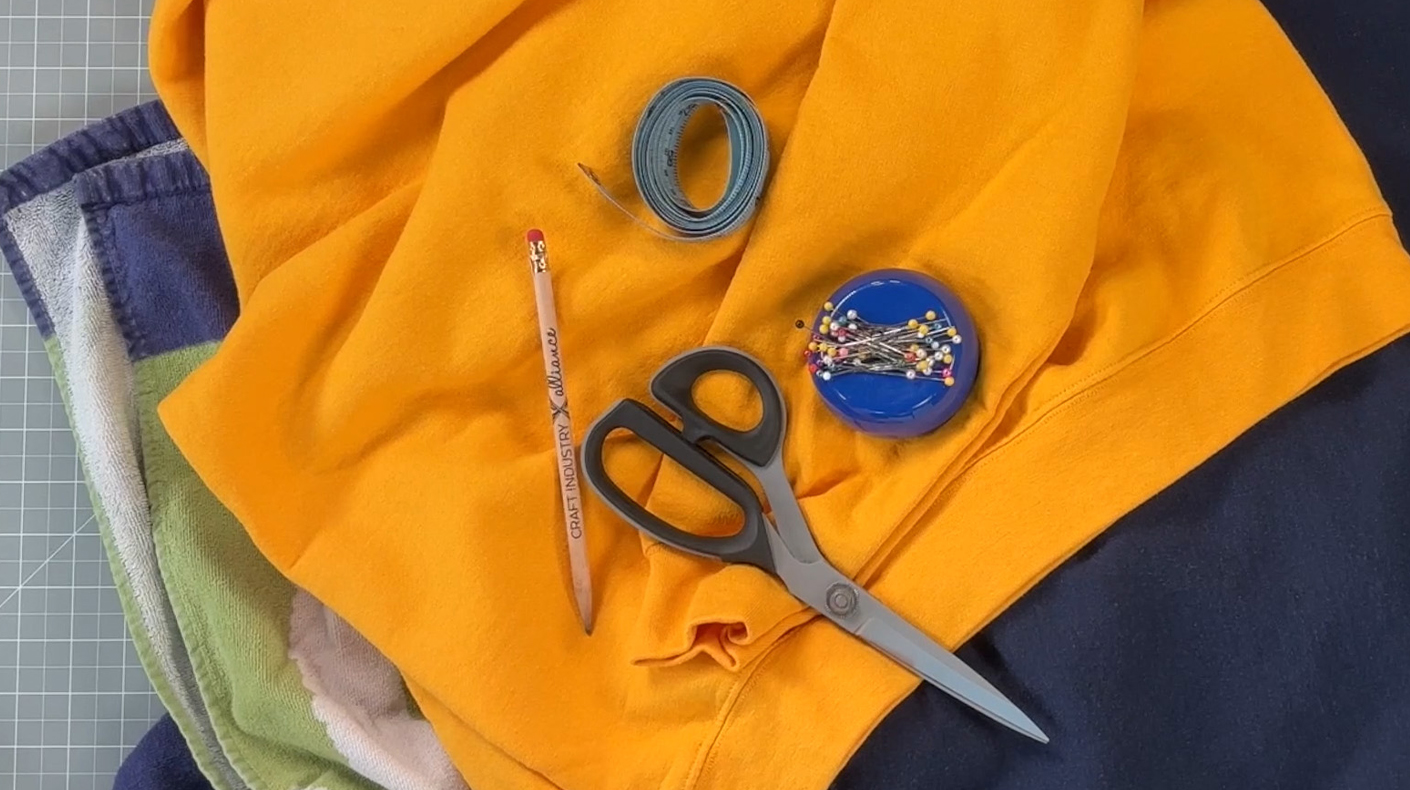
Supplies You'll Need
- Terry cloth towel
- Sweatshirt with ribbed cuffs
- Craft paper or parchment paper
- Pins
- Sewing machine or serger
- Fabric scissors
- Thread
Shop by Function, Not by Label
One of the best takeaways from this project is learning how to thrift with purpose.
Instead of focusing on brands or sizes, think about the qualities your project needs.
For a car wash mitt, look for:
- Absorbent materials
- Thick fabrics
- Soft textures
- Stretchy cuffs
As Jane explains:
"Don't worry about the labels. Don't worry about the sizing. You're looking for texture, absorbency, and thickness."
That mindset can be applied to countless DIY and upcycling projects.
Step 1: Create a Mitt Pattern
Start by tracing your hand onto craft paper.
Be sure to leave extra room around your hand since the project should fit like a mitt—not a glove. The extra space allows for comfort and flexibility while washing your vehicle.
Step 2: Deconstruct the Sweatshirt
Next, cut apart the sweatshirt.
You'll use:
- The body of the sweatshirt for the backing
- One of the cuffs as the wrist opening
The cuff is one of the smartest parts of this project because it already provides the stretch and fit needed for the finished mitt.
Step 3: Cut Your Fabric Pieces
Using your pattern:
- Cut one piece from the towel
- Cut one piece from the sweatshirt
The terry cloth side will become the washing surface, while the sweatshirt side can be used for buffing and drying.
Step 4: Sew the Mitt Together
Place the towel and sweatshirt pieces right sides together.
Then:
- Pin in place
- Sew around the edges
- Reinforce the seams with a second row of stitching
Since the mitt will be exposed to water and scrubbing, extra reinforcement helps it last longer.
If you're using a standard sewing machine, trimming around curves and finishing raw edges with a zigzag stitch can help create a cleaner finished project.
Step 5: Add the Cuff
Now for the shortcut that makes this project shine.
Using the sweatshirt cuff:
- Slip it onto the opening of the mitt
- Align the seams
- Pin and sew in place
The cuff creates a comfortable wristband while helping the mitt stay securely on your hand during use.
Put Your DIY Car Wash Mitt to Work
Once complete, your mitt is ready to use.
The terry cloth side helps hold soap and water, while the flexible shape makes it easy to reach curves, corners, and details on your vehicle.
For a Father's Day gift, consider pairing the mitt with:
- Car soap
- Cleaning brushes
- Microfiber towels
- A wash bucket
It's a simple way to turn a handmade project into a complete gift set.
Great for More Than Father's Day
While this project makes a great Father's Day gift, it's also perfect for:
- New drivers
- Summer birthdays
- Housewarming gifts
- Car enthusiasts
- DIY gift baskets
Practical gifts often get the most use—and this one is made to last.
See Potential in Everyday Items
What started as a once-loved towel and sweatshirt became:
✨ a reusable cleaning tool
✨ a handmade gift
✨ a practical upcycling project
Proof that sometimes the best DIY materials are already waiting at your local Goodwill.
Because every item deserves a second chance.