DIY Wedding Reception Chairs Using Thrifted Finds
-2.png?sfvrsn=d79aee4_1)
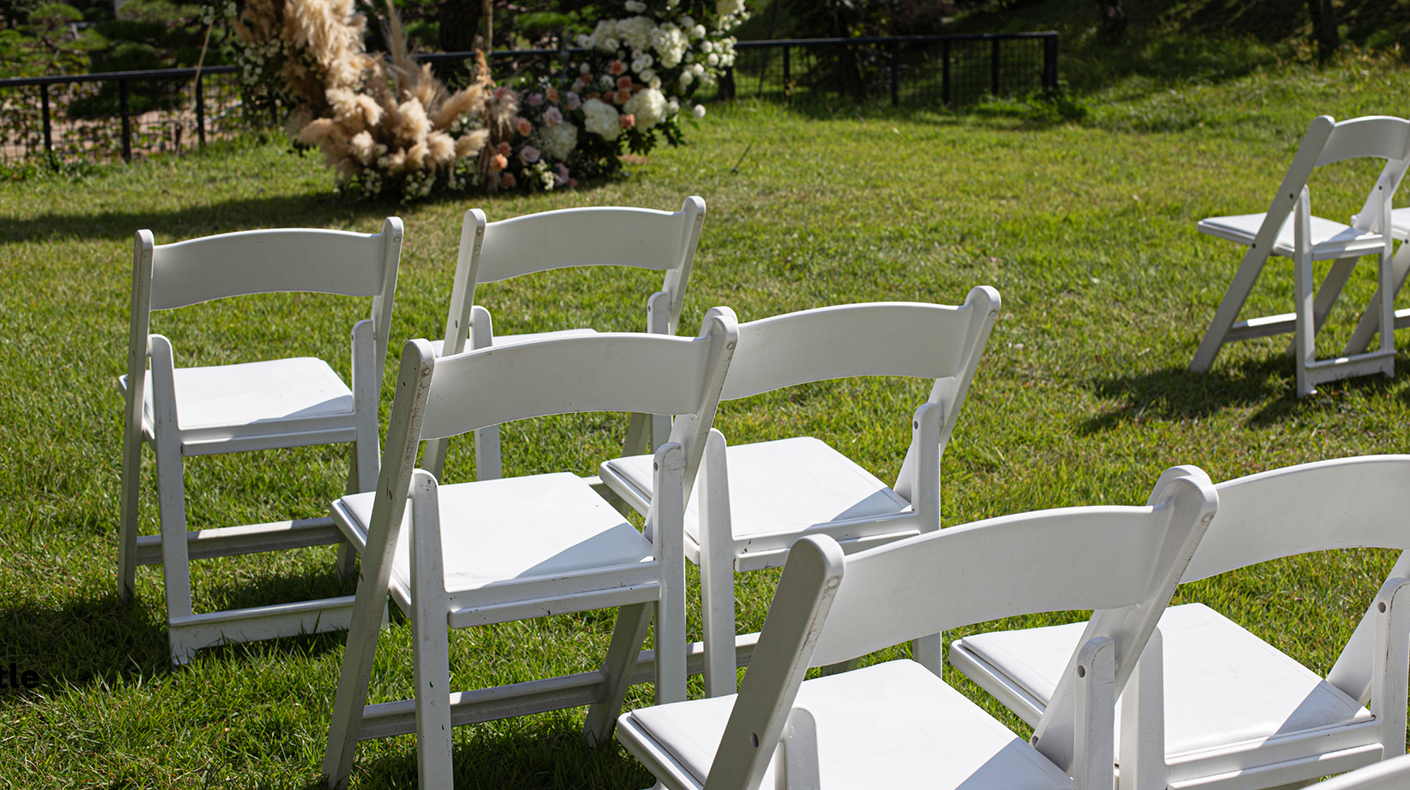
A creative DIY project that transforms simple chairs into personalized wedding décor
Looking for DIY wedding decorations that feel personal and unique? This project is a creative way to turn everyday items into meaningful details for your big day.
These DIY reception chairs use thrifted clothing, florals, and simple materials to create a “Mr. & Mrs.” seating moment that feels thoughtful, layered, and completely one-of-a-kind. It’s a perfect example of how DIY home décor ideas can translate beautifully into wedding styling.
Whether you’re planning a full celebration or looking for small details to elevate your space, this project blends creativity, sustainability, and personal style.
What You’ll Need
Many of these items can be thrifted or found at your local craft store, making this one of those DIY projects that’s both accessible and customizable:
- A pair (or set) of chairs
- Black button-down shirt and tie
- Lace shirt or lace fabric
- Pearls or beaded accessories
- Picture frames (for “Mr.” and “Mrs.” signage)
- Floral stems and greenery
- Floral tape
- Glitter glue
- Glue and brush
- Needle and thread (optional)
- Hem tape and iron
- Chalk
- Scissors
- Tape measure
- Pins or stick pins
Step 1: Measure Your Chairs
Start by measuring the height and width of the chair backs. This will help you determine how to size and cut your materials so they fit properly.
Transfer those measurements onto the black shirt using chalk to mark your cutting lines.
Step 2: Prepare the Fabric
Cut the black shirt along your marked lines to fit the chair back. If needed, remove the hem and cuffs from the lace shirt or fabric so you can reshape it for draping.
To clean up the edges of the black shirt, either:
- Use hem tape and an iron for a no-sew option, or
- Stitch the edges using a needle and thread
This step helps give your finished piece a more polished look.
Step 3: Create Your Floral Details
Using floral tape, wrap your stems to create small arrangements like boutonnieres and corsages. These details help bring texture and softness to your overall design.
Step 4: Customize Your Frames
Take your picture frames and add a decorative touch using glitter glue. Once dry, use a brush to apply glue and attach your labels or lettering (such as “Mr.” and “Mrs.”).
These frames act as a focal point and can even double as DIY gift ideas after the wedding — something you can reuse or display in your home.
Step 5: Assemble the “Mrs.” Chair
Drape the lace shirt or fabric over the back of the chair, allowing it to fall naturally for a soft, romantic look.
Tie the sleeves or fabric pieces around the chair to secure it in place.
Attach the frame (labeled “Mrs.”) and layer in details:
- Drape pearls for texture
- Add a corsage for a floral accent
Step 6: Assemble the “Mr.” Chair
Use the black shirt to cover the chair back, positioning it to create a tailored look.
Add the tie and attach the “Mr.” frame. Finish with a boutonniere for a cohesive detail.
Step 7: Final Adjustments
Step back and adjust both chairs to ensure balance and symmetry. Smooth out fabric, reposition accessories, and secure all elements.
A Creative Wedding Detail That Feels Personal
This project is a great example of how DIY wedding decorations can feel elevated without being complicated.
By using thrifted materials and layering thoughtful details, you can create something that reflects your story — not just a trend. It’s one of those DIY home décor ideas that works beyond the wedding day, too.