
How to Make Ghost Party Art from a Thrifted Sign
-2.png?sfvrsn=d79aee4_1)
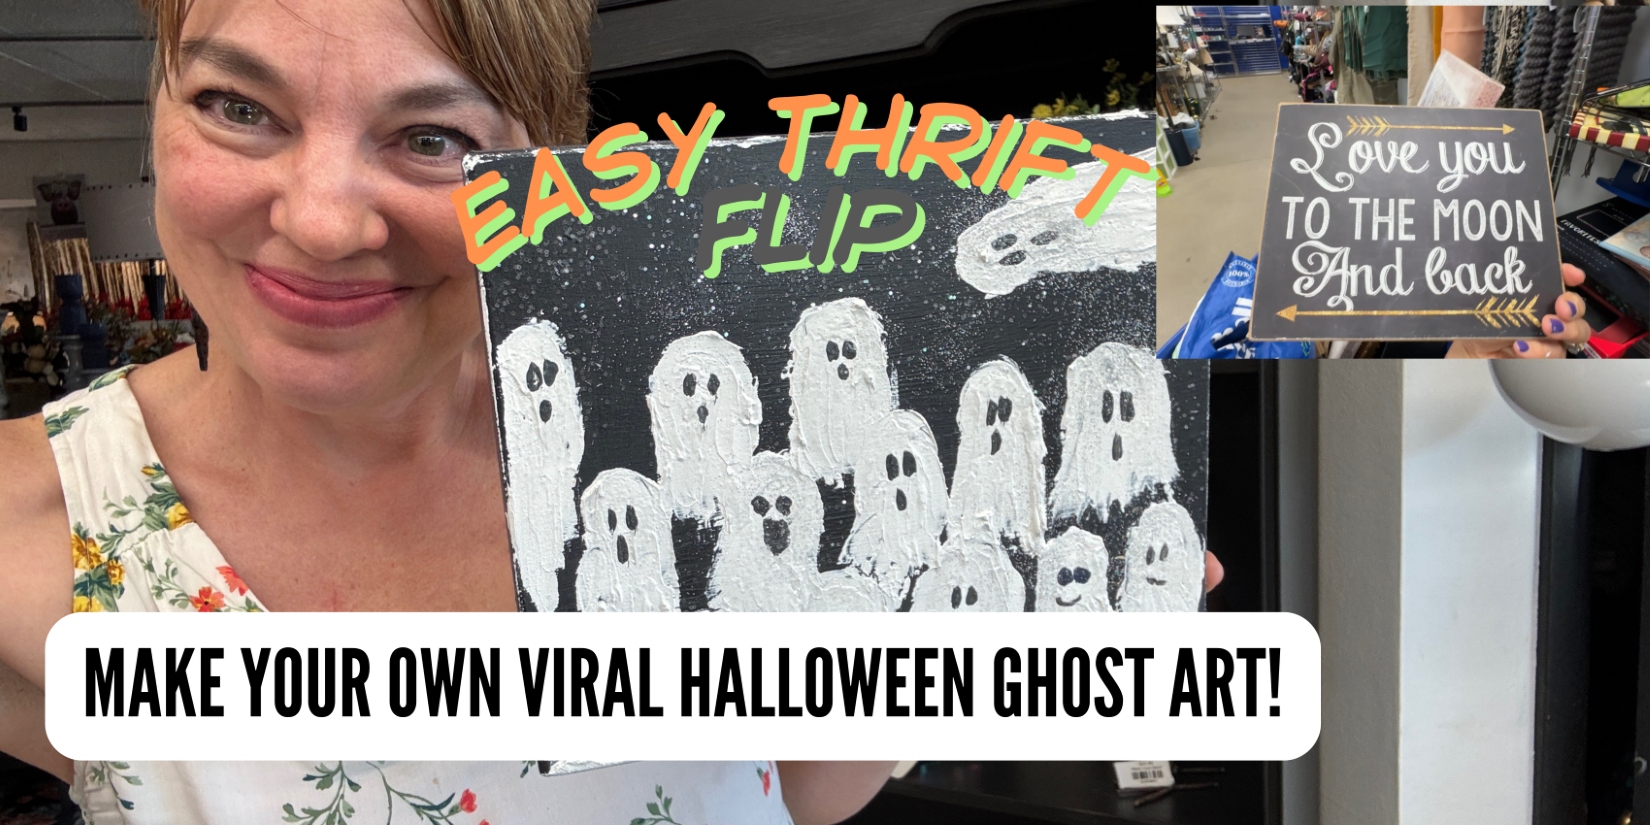
A simple Halloween DIY that’s kid-approved, budget-friendly, and perfect for ghost lovers.
Halloween is the perfect time to get spooky with your décor — and nothing’s more fun than creating your own upcycled art. In this project, DIY pro Jen Dunne of Rustic Rehabs (partnering with Goodwill’s Second Chance Studio) shows how to turn an old thrifted sign into a textured ghost party masterpiece.
With just a few supplies and a little imagination, you’ll end up with décor that’s cute, creepy, and completely one-of-a-kind.
What You’ll Need
- An old sign or framed art (thrift one at Goodwill)
- Black clay paint
- White paint
- Paint frosting (or wall spackling as an alternative)
- Palette knife
- Small paintbrush
- Black paint or paint marker (for eyes/mouths)
- Optional: Glitter & top coat
Step 1: Thrift Your Sign
Head to Goodwill and look for an old sign or framed piece of art you can upcycle. Don’t overthink it — the less loved the piece is, the better. All you really need is a solid frame and surface to paint over.
Step 2: Base Coat
Cover your sign with black clay paint to give it a moody, dark backdrop for your ghosts. Let it dry completely before moving on.
Step 3: Make the Ghosts
Mix white paint with paint frosting (or spackling) to thicken it. Using your palette knife, swipe the mixture onto your painted surface in ghost-like shapes. Don’t worry about perfection — texture is what makes each ghost unique.
Pro tip: Don’t apply the paint too thick, or it may crumble as it dries.
Step 4: Add Personality
Once the ghosts are dry (about 4 hours, or overnight for best results), grab a small brush or paint marker. Add eyes and mouths — spooky, silly, or even a few smiling ghosts for variety. Jen even sneaks in a blue-eyed ghost for fun!
Step 5: Optional Sparkle
If you’re feeling fancy, apply a clear top coat and sprinkle glitter on while it’s still wet. It’s the perfect touch for a “bougie ghost party.”
Step 6: Style Your Ghost Party
Group your new ghost art with other Halloween décor, like pumpkins or clay ghosts, for a festive vignette. It’s affordable, fun, and a great project to do solo or with kids.
Why We Love This Project
This thrifted Halloween DIY is budget-friendly, sustainable, and endlessly customizable. By shopping secondhand, you’re not only creating unique holiday décor, you’re also keeping usable items out of landfills and supporting Goodwill’s mission. That’s scary-good impact.
👉 Ready to make your own? Head to your nearest Goodwill, thrift a sign, and start your very own ghost party. Watch Jen’s tutorial and see the magic created from an item given a second chance.
For more upcycled ideas, keep visiting our Second Chance Studio page with even more inspiration from our talented DIYers.