Create Personalized Wedding Napkins with This Easy Thrifted DIY
-2.png?sfvrsn=d79aee4_1)
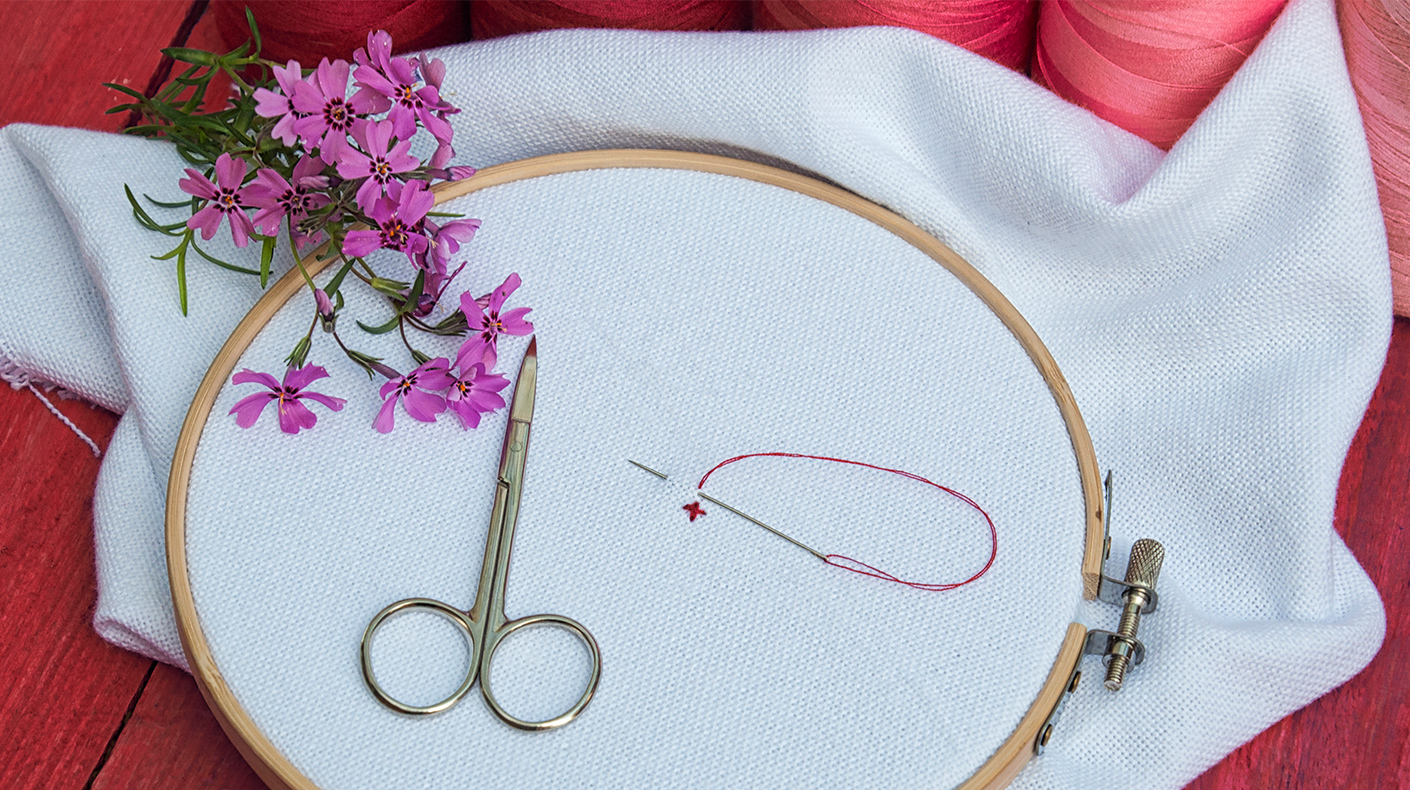
With a few thrifted finds and simple stitching, you can craft meaningful details for your reception table.
Looking for a simple way to add a personal touch to your wedding table? With just a few thrifted napkins and a little embroidery, you can create custom details that feel meaningful, handmade, and completely unique to your celebration.
This DIY project turns simple cloth napkins into personalized pieces that can feature your wedding date, a short phrase, your initials, or even small decorative motifs. Best of all, it’s budget-friendly and sustainable — exactly the kind of creative project thrift lovers adore.
What You’ll Need
Start by gathering a few supplies. Many of these items can be found secondhand or in craft stores.
Materials:
- Cloth napkins (thrifted from Goodwill or another thrift store)
- Pencil
- Embroidery thread
- Needle
- Scissors
- Embroidery hoop
Step 1: Choose Your Design
Decide what you want your napkins to say or display. Wedding-themed ideas might include:
- Your wedding date
- The couple’s initials
- “Happily Ever After”
- “Cheers to Love”
- “Mr. & Mrs.”
- Small designs like hearts, bows, olive branches, or florals
Once you’ve chosen your design, lightly sketch it onto the corner of the napkin using a pencil.
Your lines don’t need to be perfect — they’re simply a guide for your stitching.
Step 2: Prepare Your Napkin
Place the napkin inside the embroidery hoop and tighten it so the fabric is smooth and secure. This will keep the fabric from bunching while you stitch and make your design easier to follow.
Thread your needle with embroidery thread and tie a knot at the end.
Step 3: Start the Back Stitch
This project uses a simple embroidery technique called the back stitch, which creates a smooth line that’s perfect for words and outlines.
Here’s how it works:
- Bring your needle up through the fabric at the start of your design.
- Make your first stitch forward, inserting the needle back down through the fabric.
- Bring the needle up again slightly ahead along your drawn line.
- Now stitch backwards into the end of the previous stitch.
Continue repeating this pattern:
- come up a little ahead on your design
- stitch back to meet the previous stitch
This creates a clean, continuous line.
Step 4: Follow Your Design
Keep stitching along the pencil outline until your entire design is complete. Take your time and adjust the fabric in the hoop as needed.
When you reach the end of your design, tie off the thread on the back side of the napkin and trim the excess.
Step 5: Create a Full Set
One of the most fun parts of this project is experimenting with different designs.
You might create a set that includes:
- A napkin with your wedding date
- One with your initials
- One with a small decorative icon like a bow or olive branch
- A phrase that fits your wedding vibe
Mixing different designs makes the table feel playful, personal, and completely custom.
A Thoughtful Detail for Your Big Day
Hand-embroidered napkins are a beautiful way to add character to your wedding tablescape. Because they’re thrifted and handmade, each piece has its own personality — something guests will notice and appreciate.
They can even double as keepsakes for you or your guests after the celebration.
With a little creativity and a few thrifted finds, you can turn simple napkins into something truly memorable for your big day.
Tap the Image See the video tutorial here ⤵️