How to Take In the Waist of Jeans (Beginner-Friendly DIY with Thrifted Finds)
-2.png?sfvrsn=d79aee4_1)
The Perfect Find… Almost
You know the feeling—you find the perfect pair of jeans or skirt while thrifting.
The wash? Perfect.
The style? Exactly what you were looking for.
The waist? …a little too big.
Instead of passing it up, this is your sign to take it home.
With a simple, beginner-friendly technique, you can take in the waist of your thrifted finds and create a fit that feels made for you.
✂️ What You’ll Need
- Pins or sewing clips
- Tailor’s chalk or marking tool
- Ruler
- Sewing machine or hand sewing tools
- Iron
- Scissors
Step-by-Step: How to Take In the Waist
Step 1: Identify the Excess Fabric
Try on your garment and pinch the extra fabric at the back of the waistband.
Secure it with pins or clips to see how much needs to be taken in.
👉 This technique is especially helpful for fixing the back gap in jeans.
Step 2: Mark Your Darts
Using chalk or a fabric marker:
- Mark both sides of where the fabric is pinned
- This shows how much excess needs to be removed
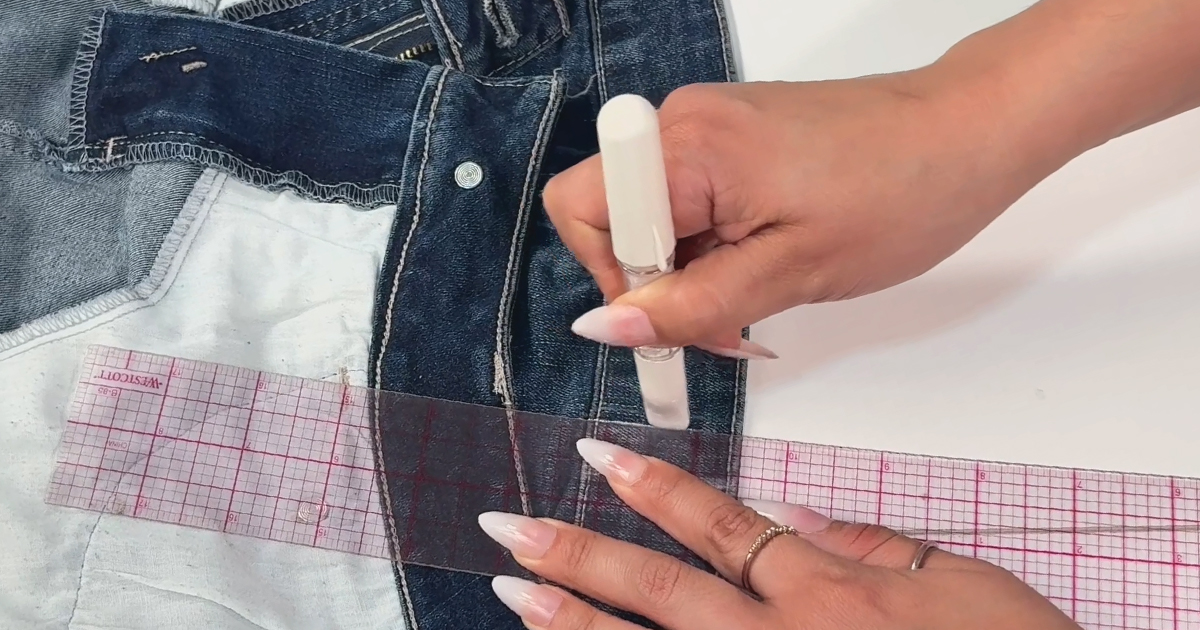
Step 3: Measure the Waistband
Measure the total excess fabric.
- If it’s 1–1.5 inches, one center dart may be enough
- If it’s more (like 2+ inches), create two darts for balance
Step 4: Plan Dart Placement
For two darts:
- Measure about 2.5–3.5 inches from the center back seam on each side
- Mark the center point for each dart
Step 5: Draw Your Dart Shape
- Divide your total excess evenly between darts
- Draw angled lines from the waistband down toward the garment
- Darts should end about 1–2 inches above the fullest part of the seat
Step 6: Sew the Darts
Sew along your marked lines:
- Keep stitches smooth and straight
- Taper cleanly toward the end
👉 Instead of backstitching at the tip, sew off the edge and tie a knot to avoid puckering.
Step 7: Press the Darts
Press your darts:
- Toward the center or outward
- This step makes a HUGE difference in how clean your garment looks
Step 8: Finish the Edges
- Trim excess fabric
- Zigzag stitch or serge edges to prevent fraying
Optional: Adjust Length or Fit
Once you’ve adjusted the waist, you can:
- Shorten a skirt
- Hem jeans
- Refine the overall silhouette
Style Your New Fit
Once tailored, your thrifted pieces can be styled for:
- Casual everyday looks
- Night-out outfits
- Seasonal layering
The difference?
They now fit you.
Why This Technique Works
This method avoids fully reconstructing the waistband—making it:
- Faster
- Easier for beginners
- Less intimidating
“An easy way to tailor your denim without completely reconstructing the waistband.”
Thrift It. Tailor It. Make It Yours.
Thrifting opens up endless possibilities—but tailoring is what makes those pieces truly yours.
Next time something is almost perfect, don’t pass it up.
Fix the fit. Keep the style.
Because every item deserves a second chance.
Ready to try it yourself? Watch Nohemi’s full tutorial to see exactly how to take in the waist step-by-step and turn your thrifted pieces into the perfect fit.