DIY Wedding Card Box Ideas Using Thrifted Finds
-2.png?sfvrsn=d79aee4_1)
Elevated Wedding Decor—Without the Price Tag
Weddings are full of beautiful details—but they can add up quickly.
One of the easiest ways to save (and add personality) is by creating your own decor using thrifted finds. In this DIY, Jen shows how two simple boxes—found secondhand—can be transformed into custom wedding card boxes that feel anything but basic.
From black-tie elegance to soft, romantic styling, the possibilities are endless.
Project 1: From Farmhouse to Black-Tie Card Box
What You’ll Need:
- Wooden box
- Chalk paint
- Stencil + stencil paste (or spackling)
- Polyacrylic sealer
- Wax (optional)
Step 1: Paint Your Base
Start with a solid coat of chalk paint to completely transform the look of the box.
👉 Pro tip: Tape the inside opening to avoid paint drips where cards will go.
Step 2: Add a Raised Stencil Design
Using a stencil and paste (or even spackling), apply a raised pattern to each side of the box.
This adds instant texture and elevates the piece from simple to statement.
Step 3: Let It Dry
Allow your stencil work to fully dry before turning or handling the box to avoid smudging.
Step 4: Seal the Piece
Apply a polyacrylic sealer to protect the finish and lock in your design.
Step 5: Add Metallic Detail (Optional)
Use wax to add a subtle metallic finish—or go bold and make it a focal point.
👉 If you go too far, you can tone it down with clear wax—no need to start over.
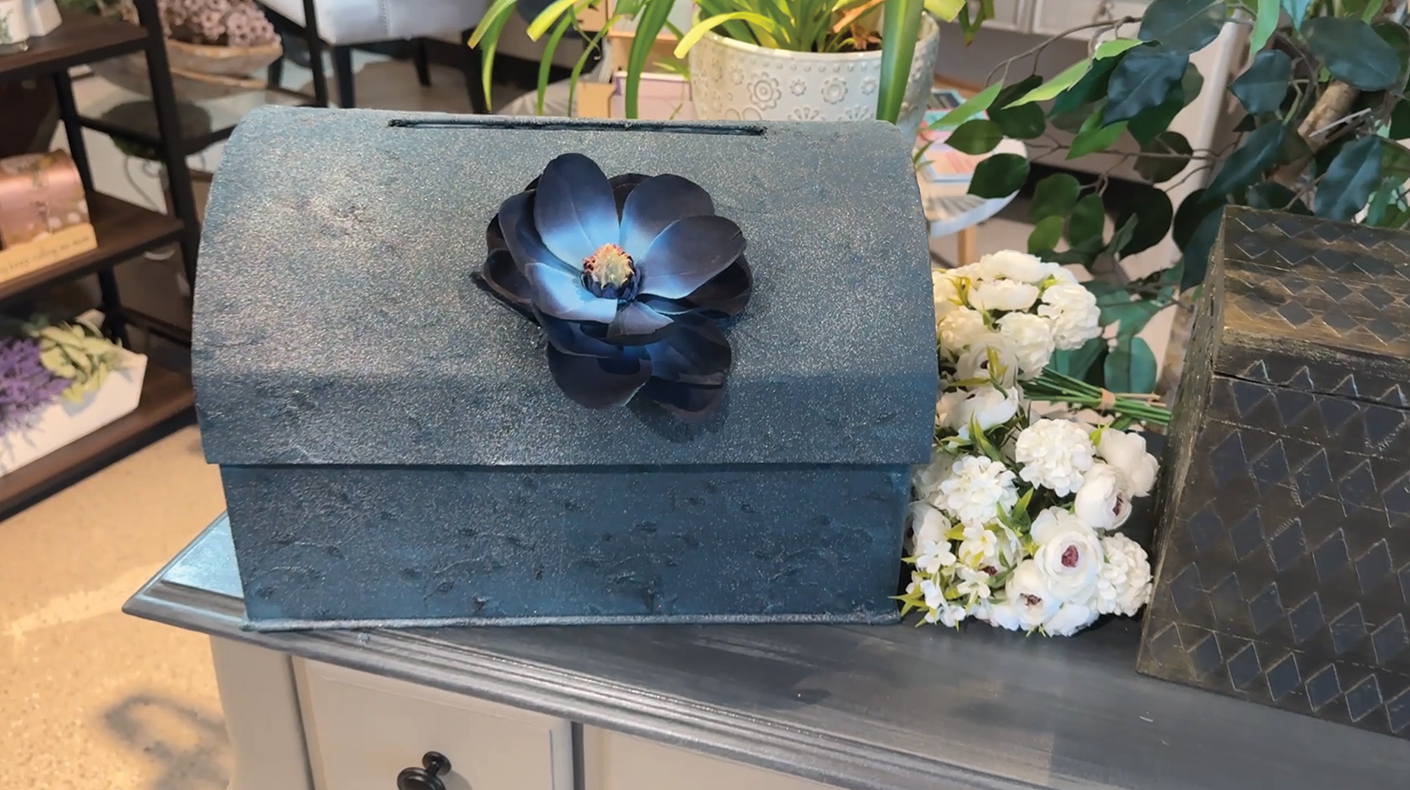
Project 2: Transforming a Fabric Card Box
This second project shows how even worn or outdated pieces can become something beautiful.
What You’ll Need:
- Fabric/cardboard box
- Chalk paint
- Water spray bottle
- Transfer medium (optional)
- Heat gun
- Decorative elements (flowers, etc.)
Step 1: Remove Old Details
Use a heat gun to carefully remove any glued-on decor.
Step 2: Dye the Fabric with Paint
Mix chalk paint with water and work it into the fabric to create a dyed effect.
This technique completely transforms the look—and doesn’t require traditional fabric dye.
Step 3: Build Color Gradually
Apply additional layers as needed until you reach your desired tone.
Step 4: Seal + Finish
Seal the piece and add any embellishments like flowers or accents to complete the look.
Why Thrifted Wedding Decor Just Works
One of the most satisfying parts of this process is seeing how quickly something can change.
“It doesn’t get old to see the instant gratification of how something can change from one thing to something completely different.”
Using thrifted items allows you to:
- Save money
- Create one-of-a-kind pieces
- Customize your wedding to reflect your style
Make It Your Own
Whether your wedding style is minimal, romantic, or bold, these techniques can be adapted to fit your vision.
Next time you’re at Goodwill, look a little closer—your next wedding DIY might already be waiting.
Because every item deserves a second chance.
Want to see these thrifted card boxes come to life? Watch Jen’s full tutorial to follow each step, pick up her pro tips, and get inspired to create your own custom wedding decor from secondhand finds.